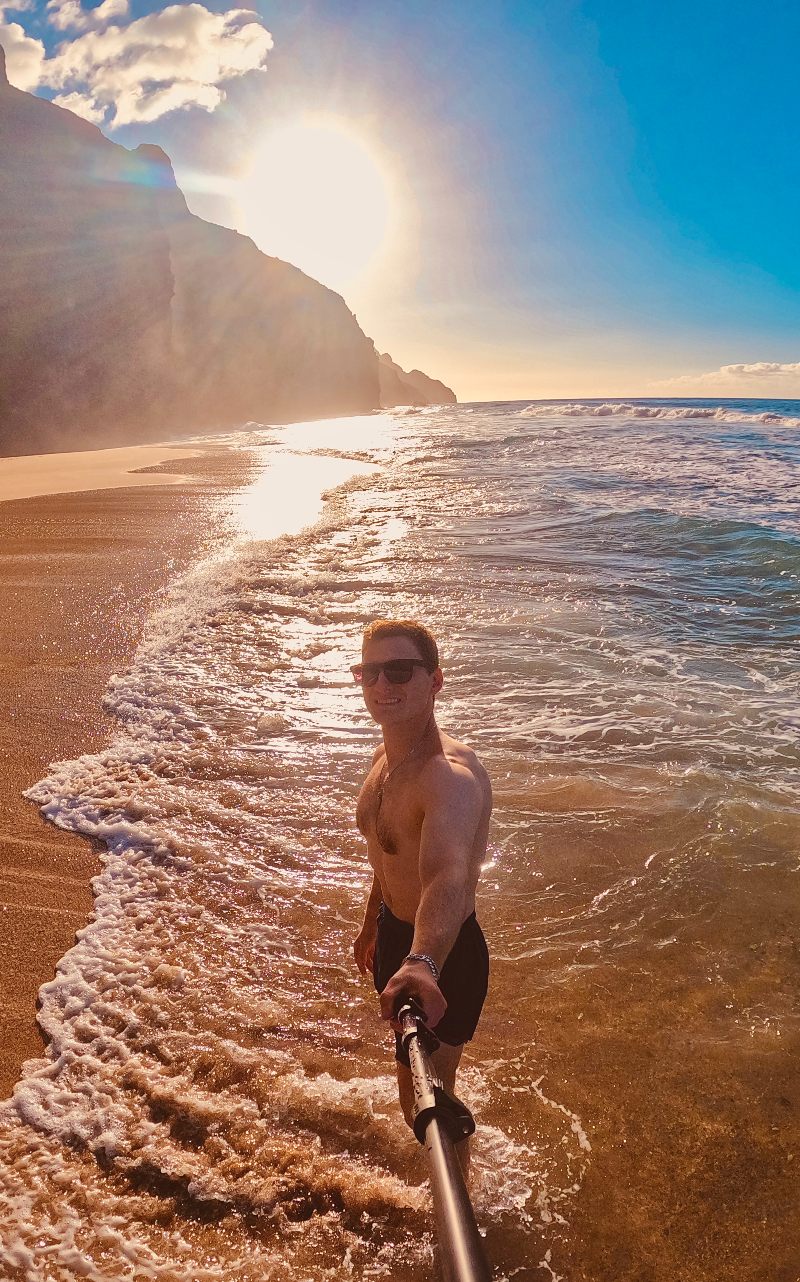
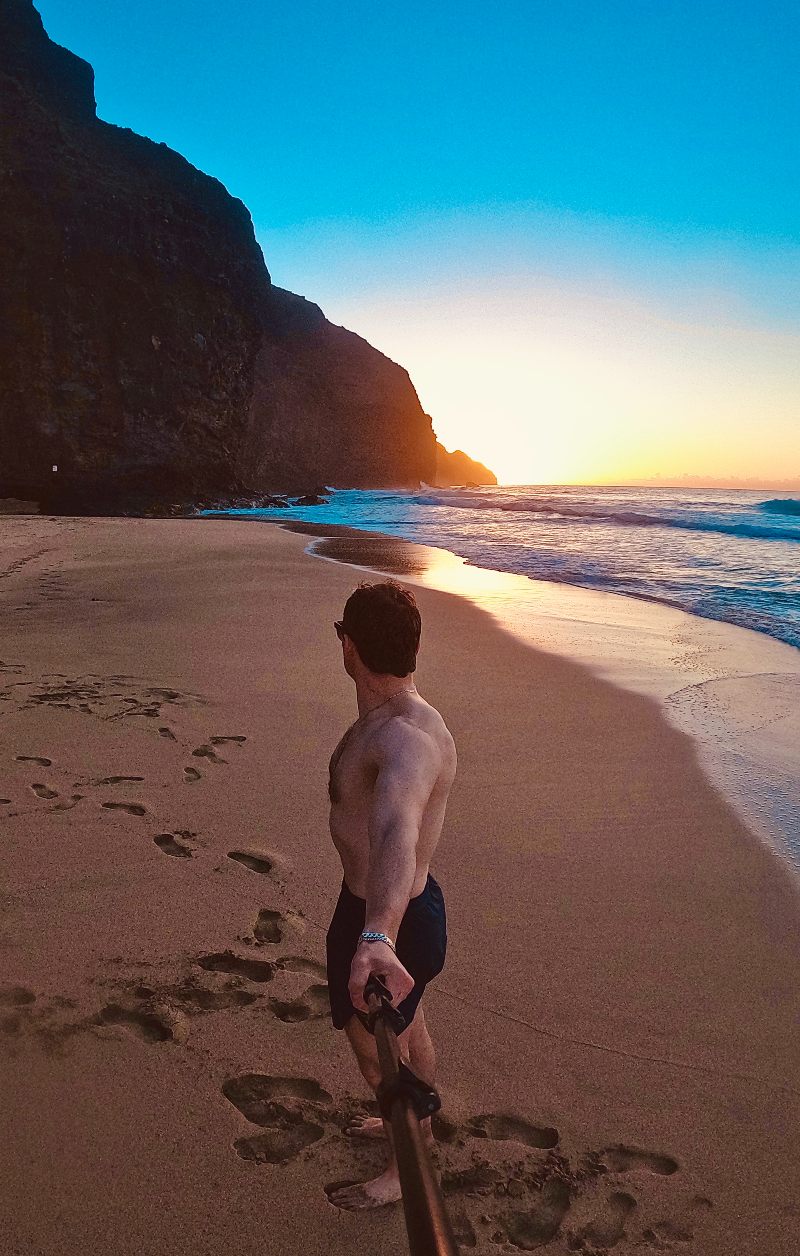
I have been to a few other Hawaiian islands but this was my first time visiting Kauai. It’s been on my radar for three years, ever since I heard about the Kalalau Trail. My trip to Kauai was on a tight schedule (a 72-hour trip). I was on a mission! I had been trying to get permits for the Kalalau Trail for over a year and when I saw the window of opportunity, I jumped on it.
The Kalalau Trail is in the Napali Coast State Wilderness Park which is part of the Hawaii State Parks system. Camping permits for the Kalalau Trail can be difficult to secure. They only allow 60 camping permits on the trail per day. That being said, although I was only able to secure a camping permit for one night, the Kalalau Trail was indeed the main reason why I visited Kauai. This trail is famous for a beautiful coastline unlike anywhere else!
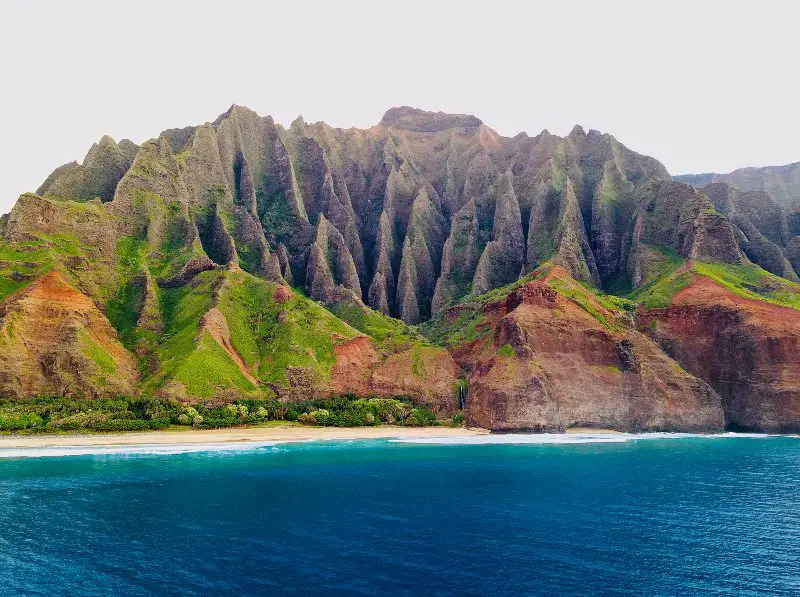
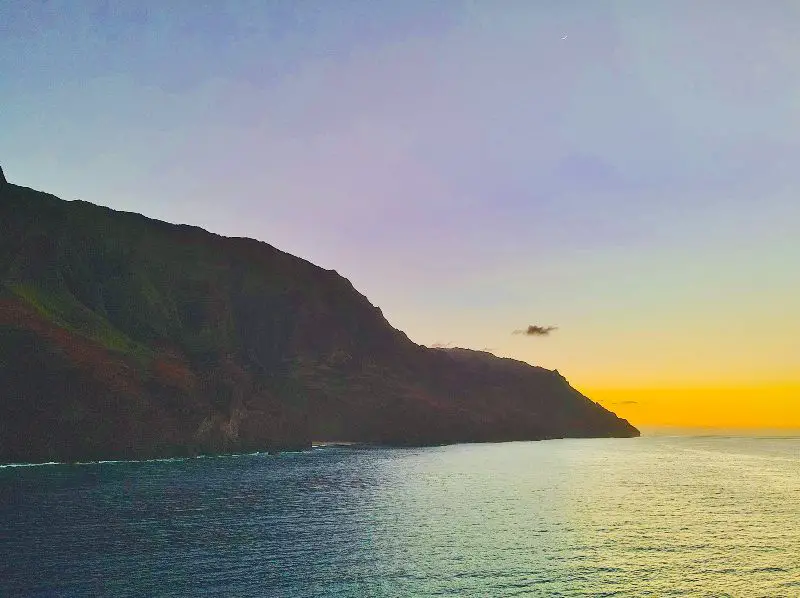
Two Day/One Night Trek on the Kalalau Trail
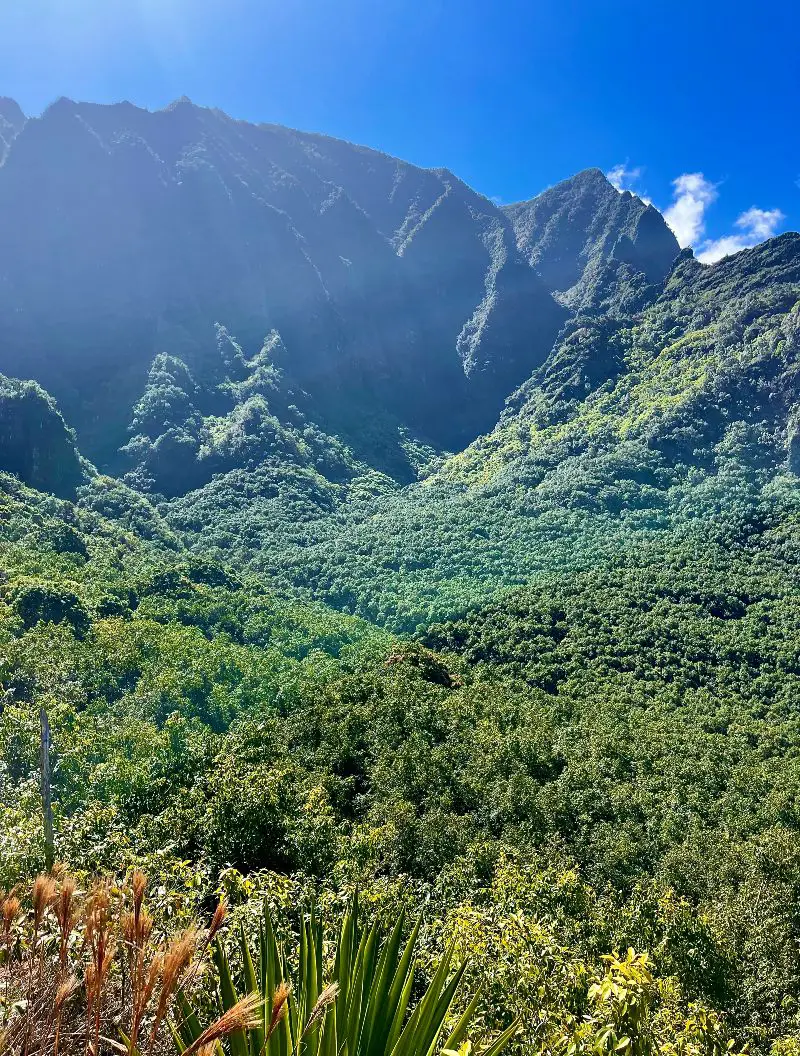
The Kalalau Trail provides the only land access to this part of the rugged coast. The trail traverses five valleys before ending at Kalalau Beach where it is blocked by sheer, fluted pali. The 11-mile trail is graded but almost never level as it crosses above towering sea cliffs and through lush valleys. The hiking trail drops to sea level at the beaches of Hanakapiai and Kalalau.
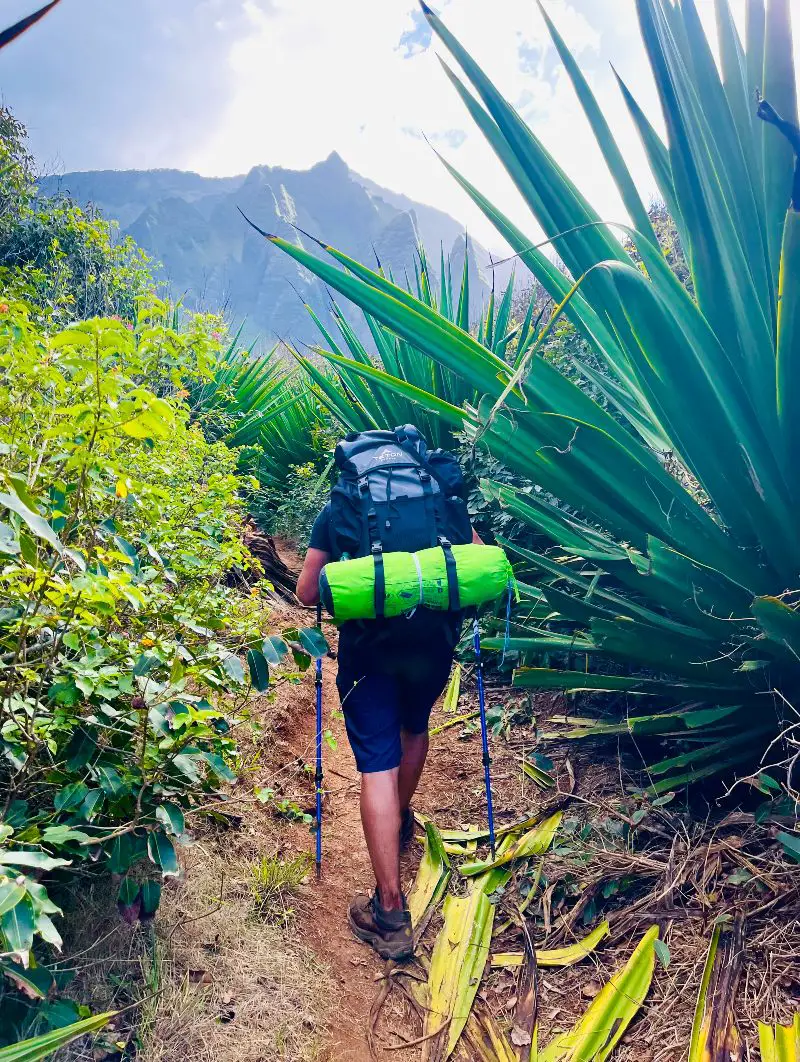
I hiked on the Kalalau Trail for two days and one night. On day one, we started at the Kalalau trailhead at 7am and hiked all the way into Kalalau Beach which was an 11-mile (22 miles out and back) trek with roughly 6,000 feet of elevation gain. We arrived at Kalalau Beach around 3:30pm (we probably killed about an hour or two taking pictures along the way).
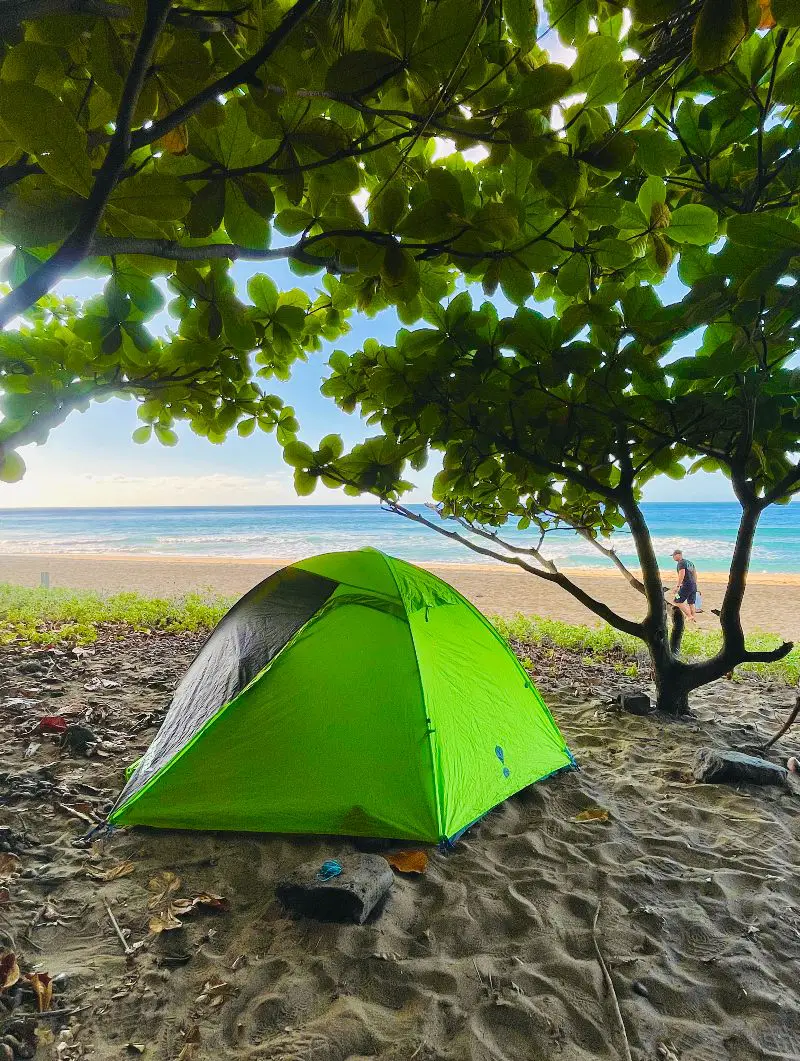
We camped under trees at Kalalau Beach next to a waterfall where we filtered our water from. On day two, we woke up at 8am and hiked back to the parking lot, doing the trail in reverse. We reached the parking lot at 4pm. This was a fast trip and I’m a fit person, so it wasn’t too tough for me. But I recommend that people at least spend an extra day or two at Kalalau Beach to soak in the views (if you are able to get the permits for it).
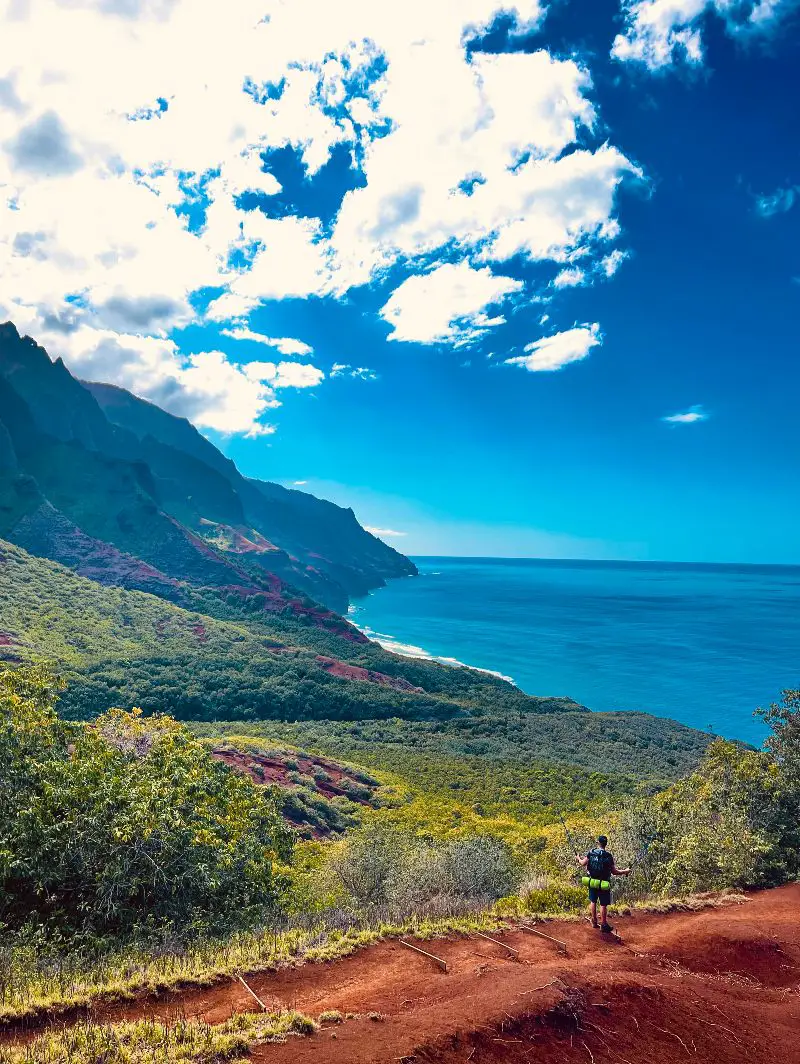
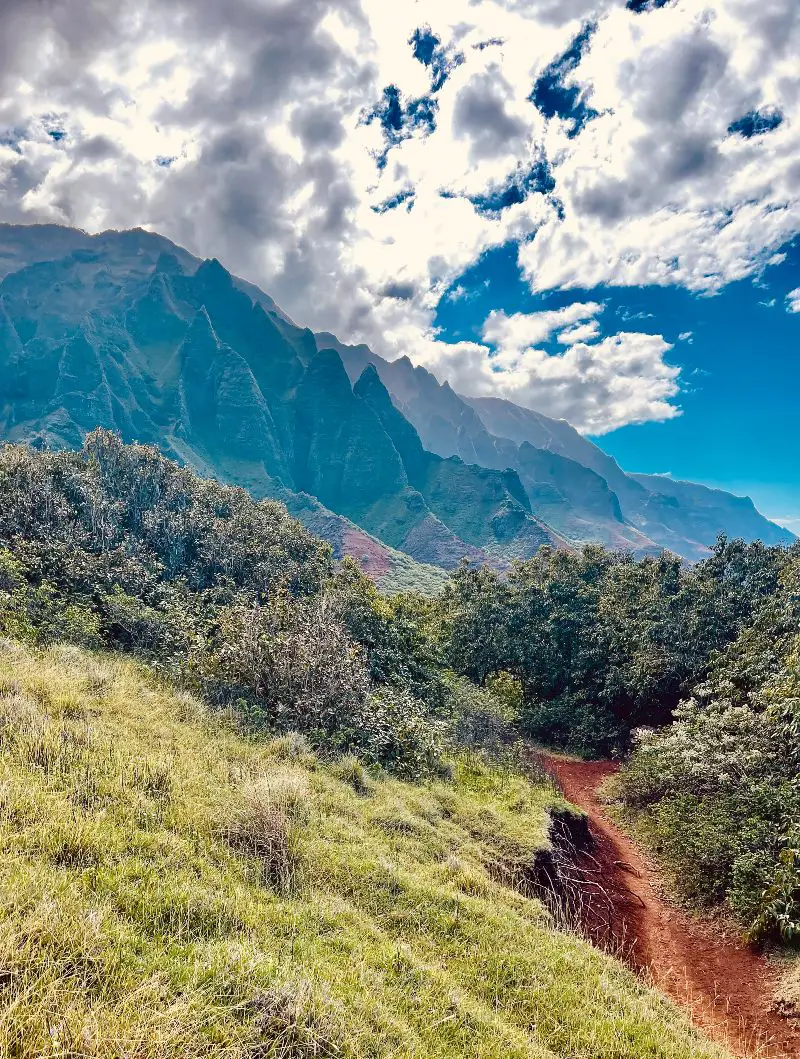
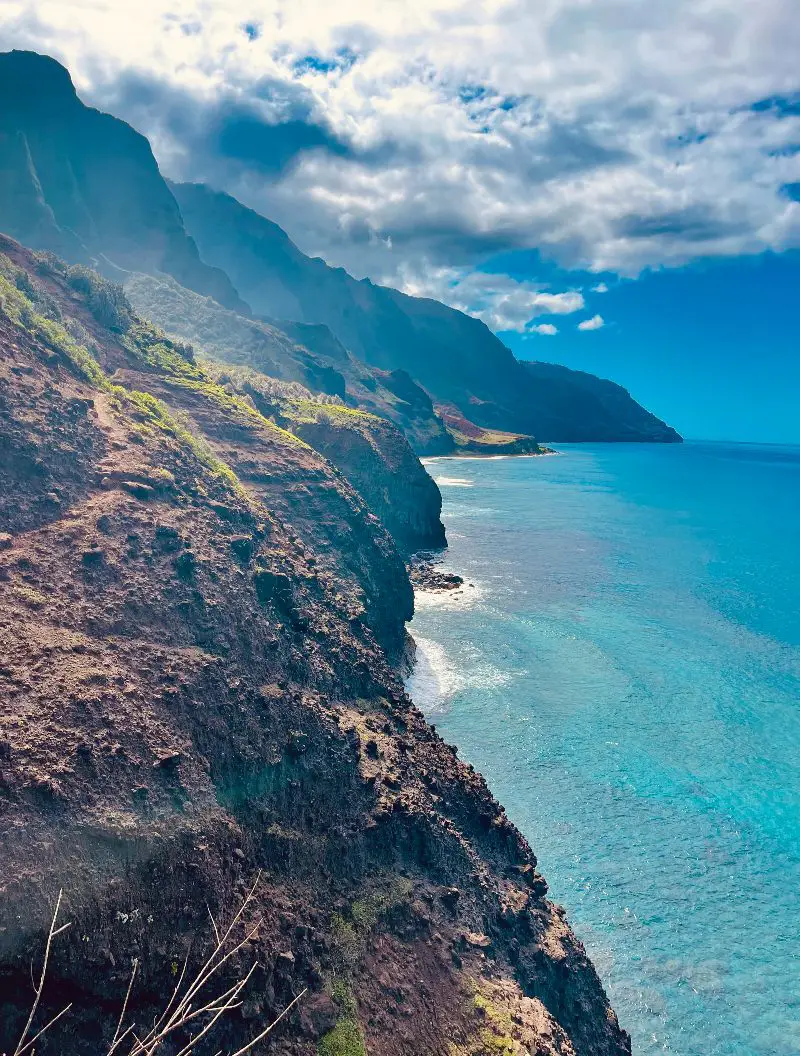
Review of the Kalalau Trail – The Best Shoreline Hike in the World!
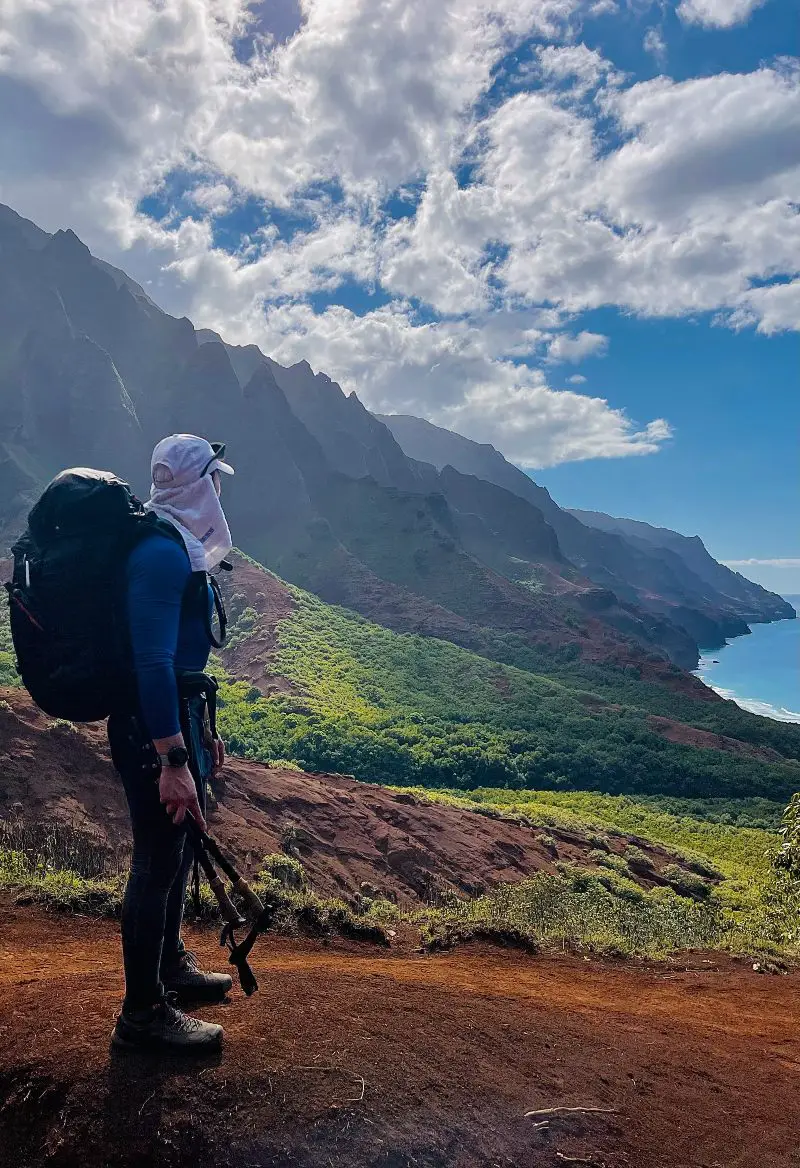
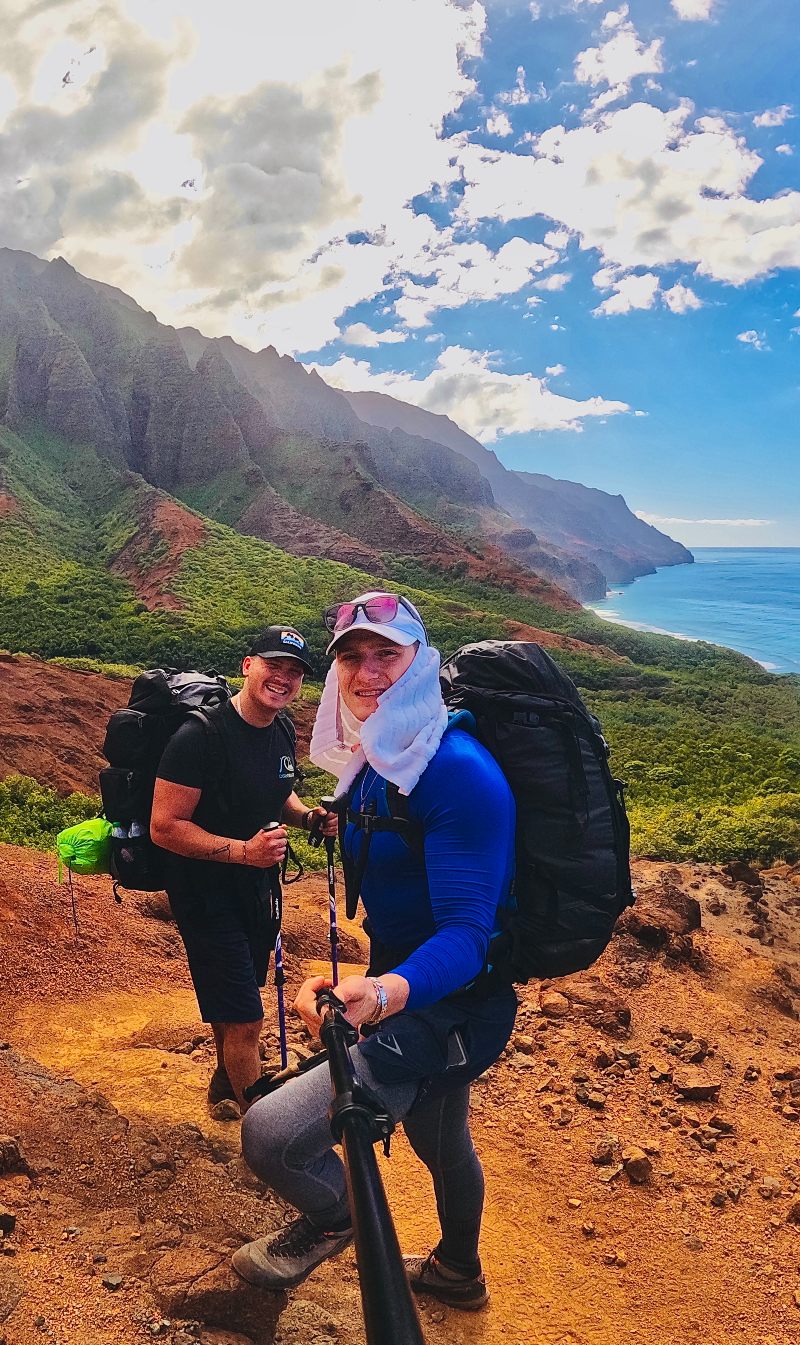
My review of this trail was nothing short of epic. You get the best views that a shoreline has to offer. I only know of two other places in the world that offer views anything close to this. One being in Big Sur, California and the other being the Lost Coast (also in California). The colors that you see on the Kalalau Trail are nothing like what you see anywhere else on earth.
I would say this is the best hike I have ever done along a shoreline with headlands so far in my hiking journey. I have noted a few highlights along the trail on the way to Kalalau Beach that everyone attempting this trail should lookout for. They also make for great photo opportunity locations:
- Hanakapiai Beach
- Hanakapiai Falls
- Hanakoa Valley
- Crawler’s Ledge
- Red Hill
- Kalalau Beach
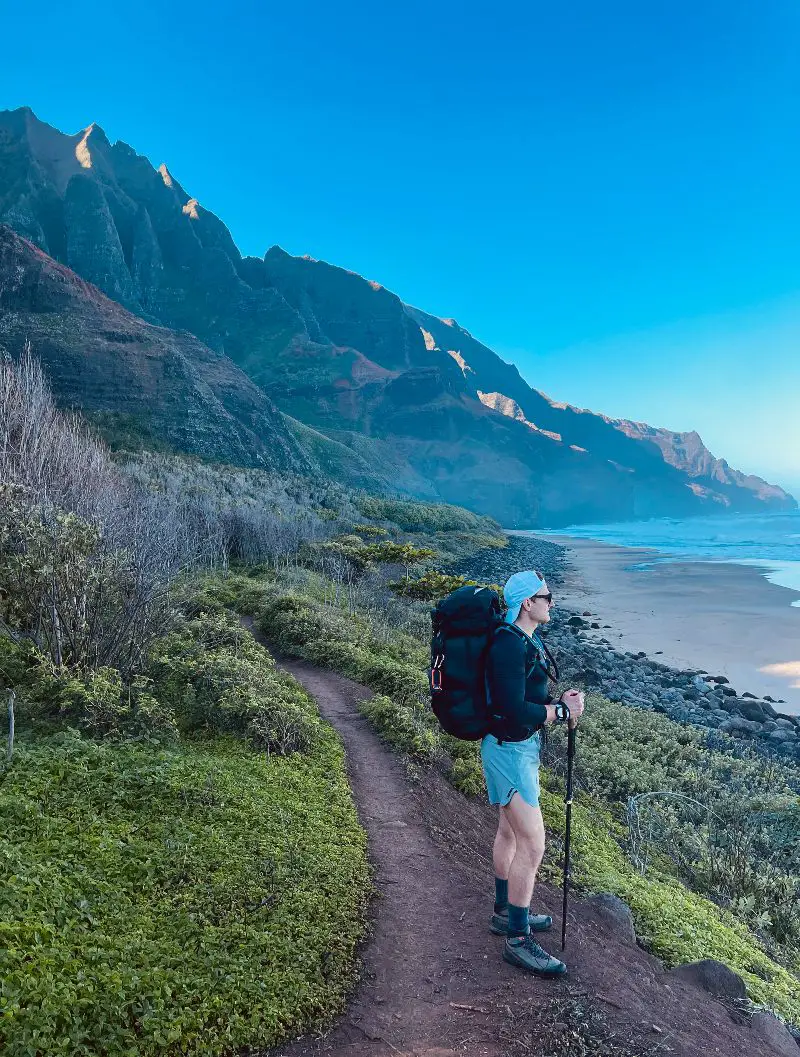
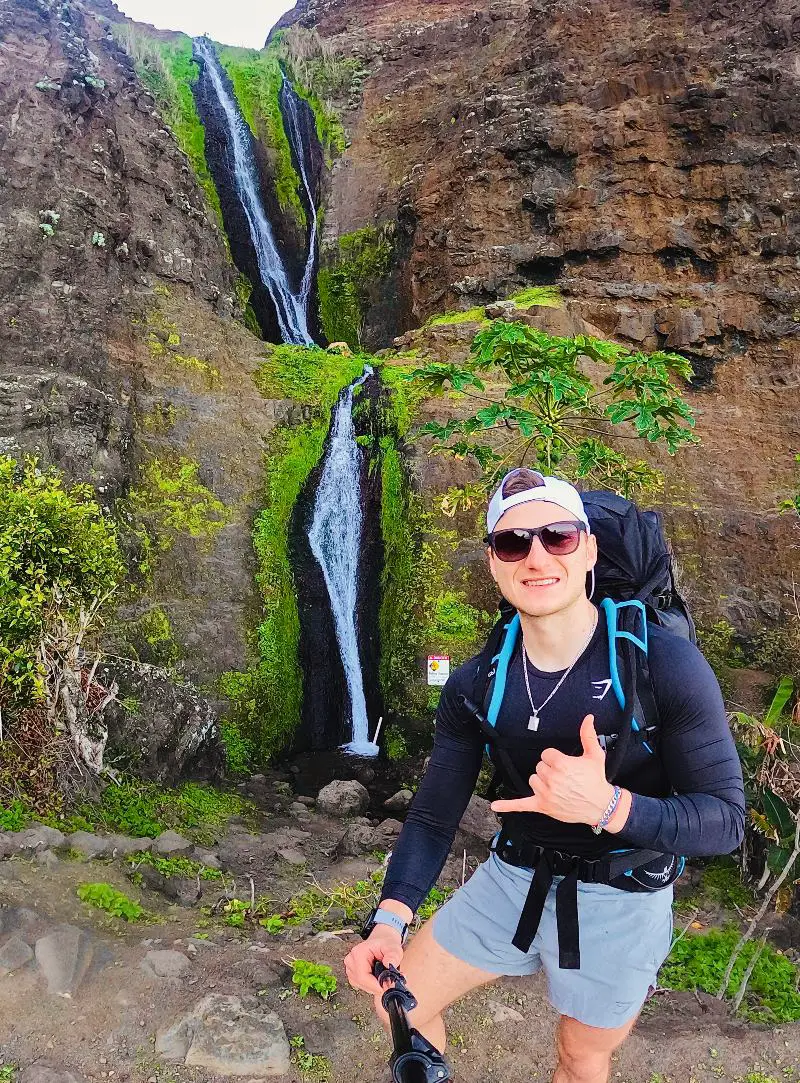
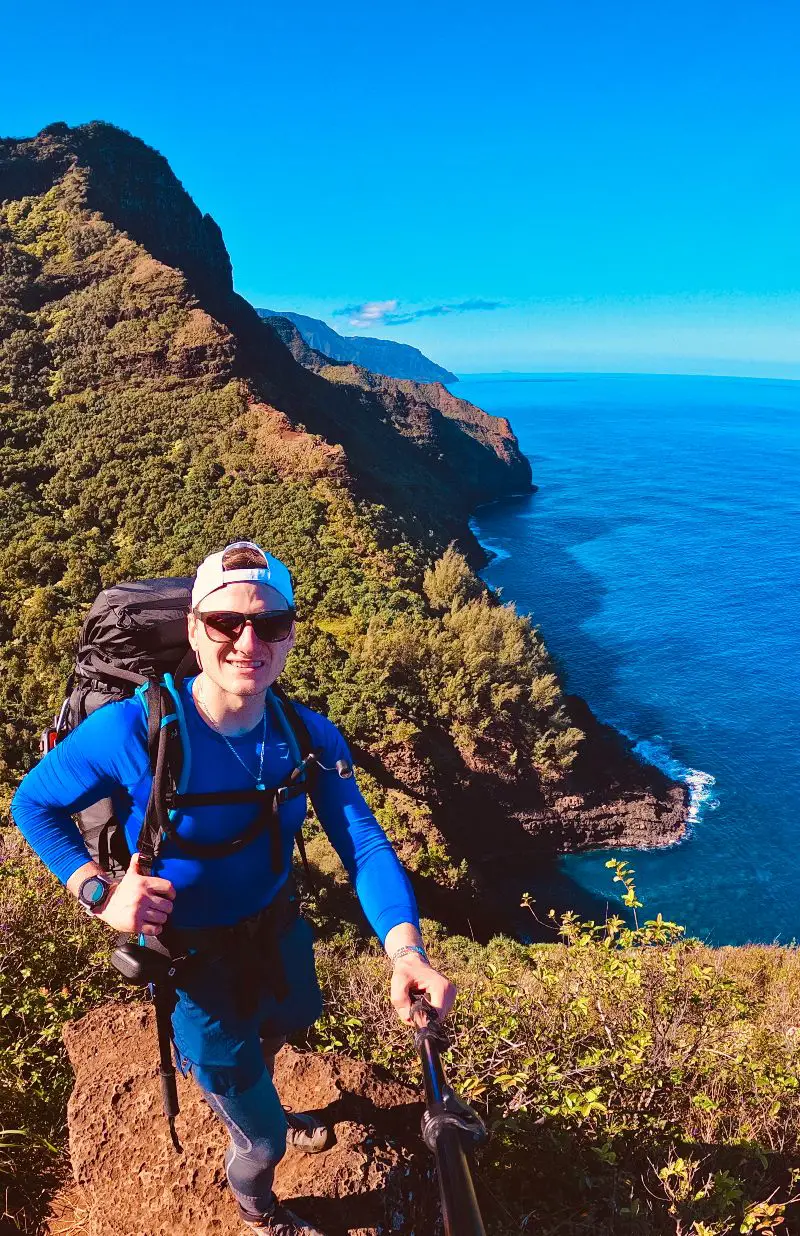
12 Important Tips for Hiking the Kalalau Trail
1. Make Sure your Cardio Fitness is up to Scratch
Make sure you are doing cardio three or four times per week for at least one month leading up to your trip. I don’t think the trail is too strenuous but it would prove to be beneficial to be in decent physical shape.
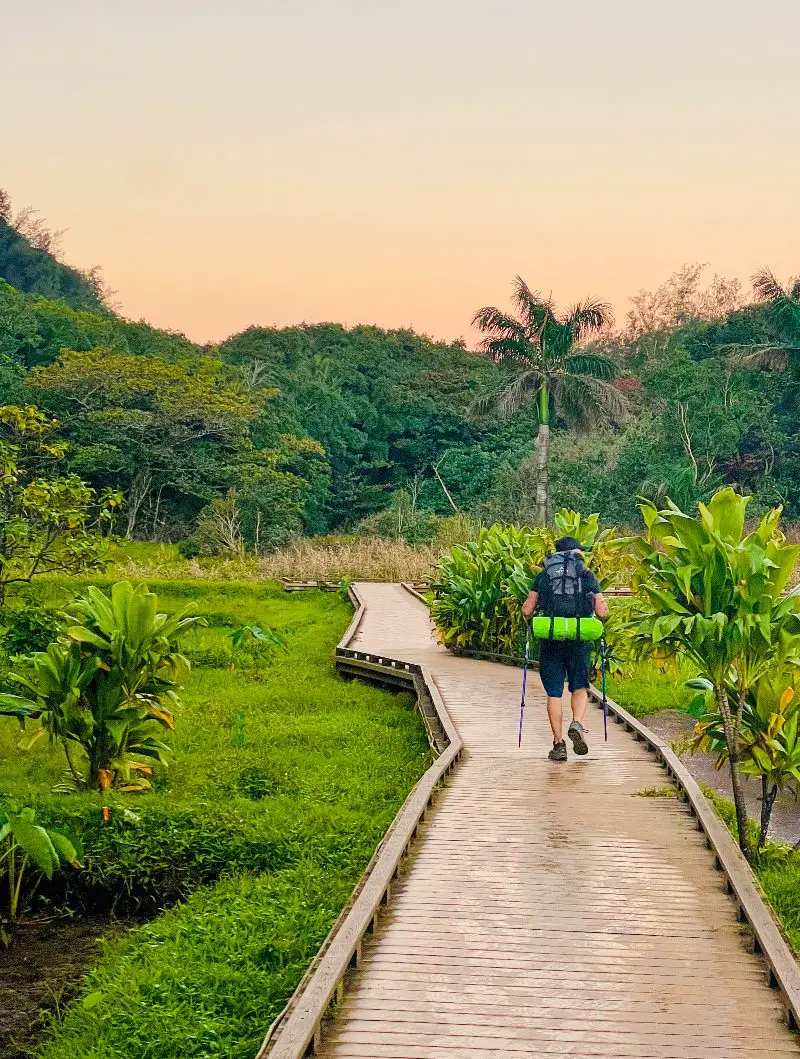
2. Prepare Yourself for Climbing Up Hills
You don’t have to have a high level of fitness going into this hike but you should be somewhat conformable with climbing up hills for periods of time. There are a lot of up and down sections on the Kalalau Trail as it traverses along the valleys. Incorporating the Stairmaster into your cardio workouts would prove to be beneficial in your preparations for this hike.
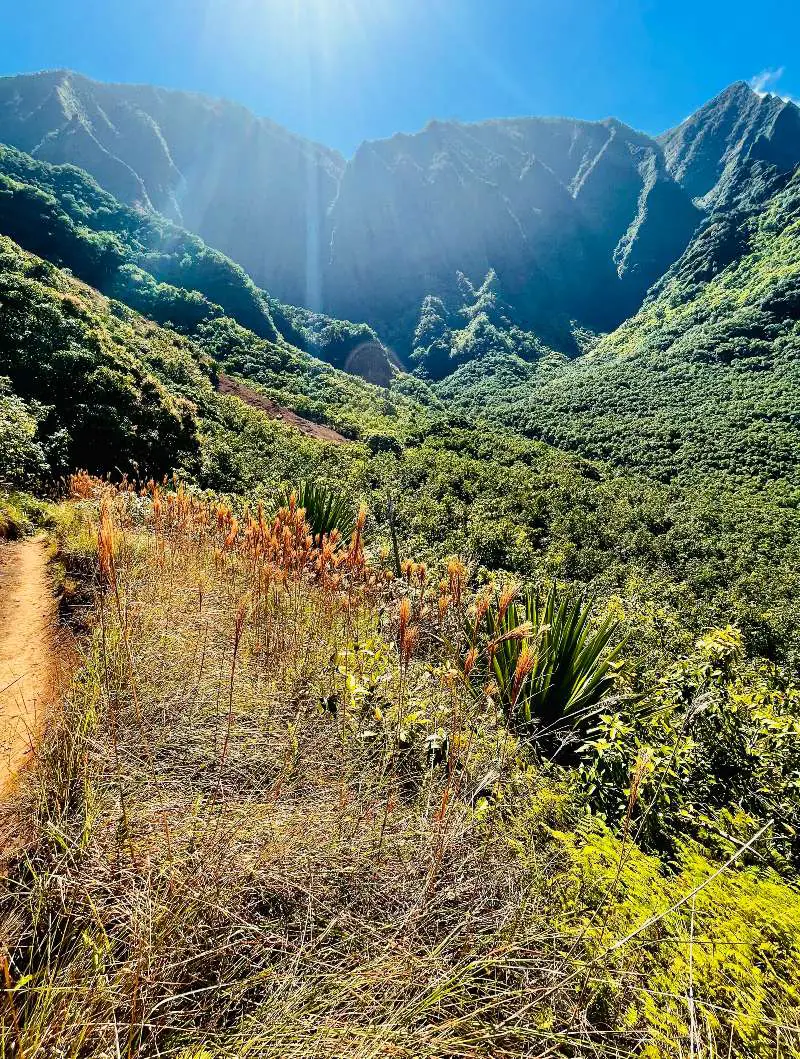
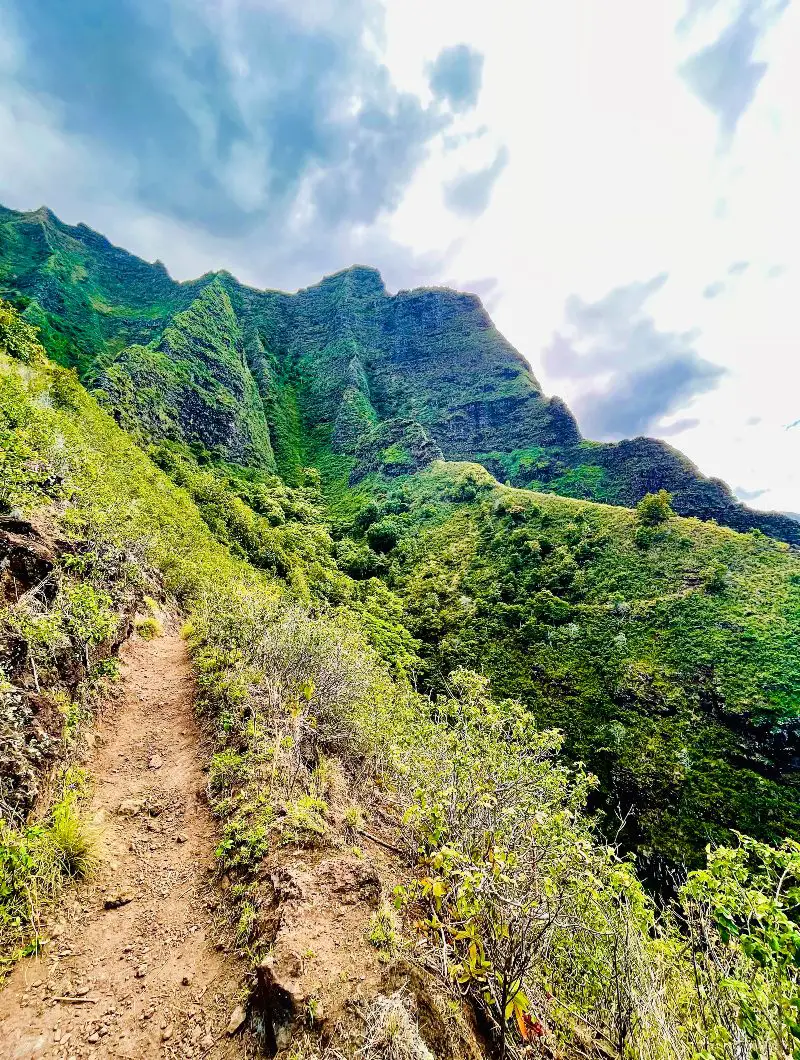
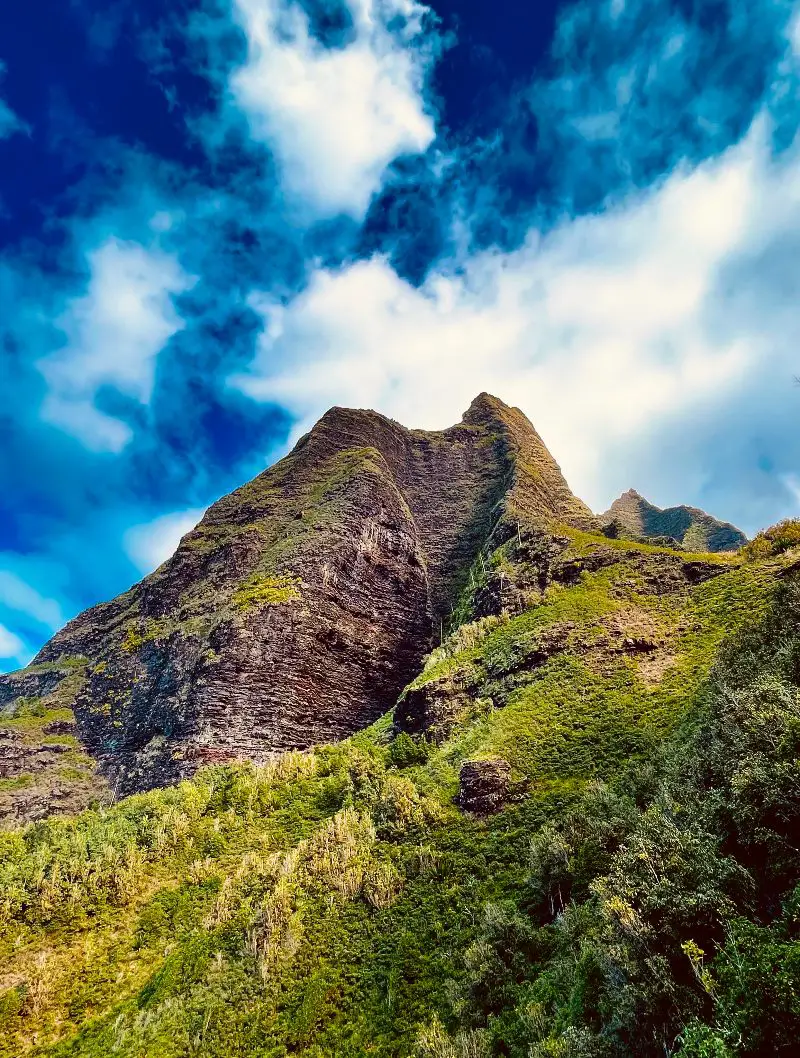
3. Get Accustomed to Hiking at Heights
You should be somewhat comfortable with heights. I understand that everyone has a fear of heights, and some fear is okay, but there is a section on this hike called the “Crawler’s Ledge” and it has a bit of exposure. Good footing is critical on this section, so staying calm and composed will go a long way to helping you complete the hike safely. Don’t look down!
4. Travel Light and Bring Lightweight Hiking Shoes
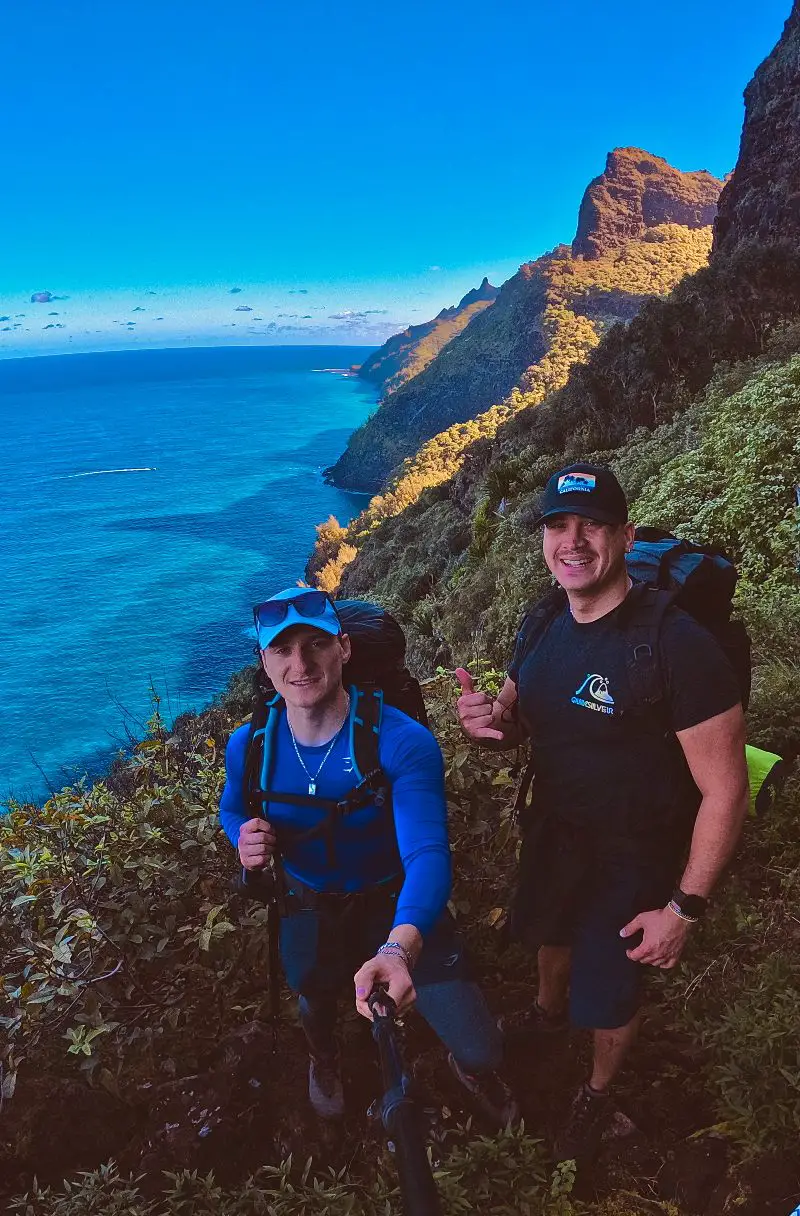
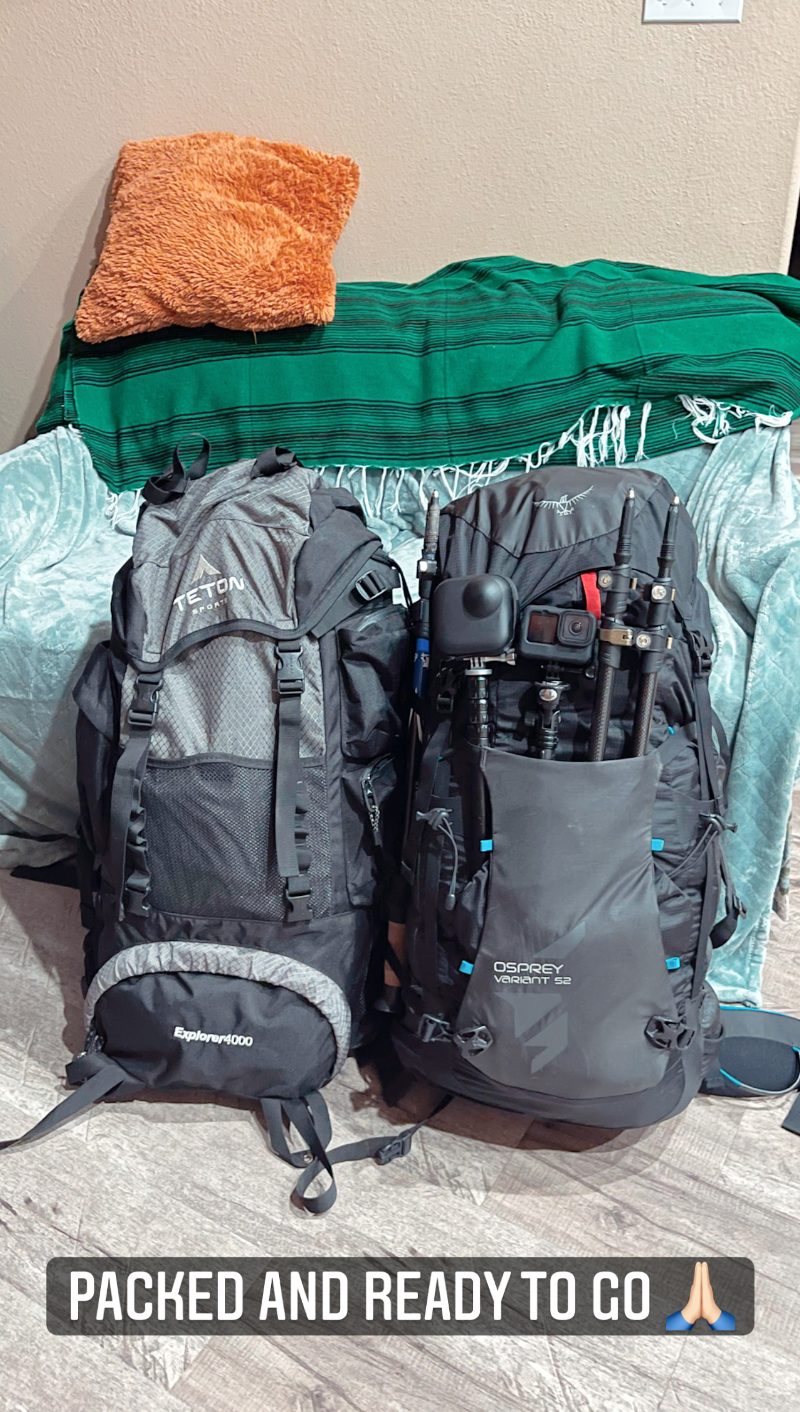
For this trail, it is best to travel light. Don’t bring too much equipment. Over-packing and weighing yourself down with too much gear can make your hike much more difficult. I recommend lightweight hiking shoes with good traction and ankle support. I used the La Sportiva Mens TX4 Mid GTX.
5. Bring the Right Camping Gear for the Kalalau Trail
Your camping equipment can include things like a tent, sleeping bag and inflatable pillow. I also suggest the MSR cooking stove in this link here. It is lightweight and efficient, I use the same one for all my hiking trips.
6. Don’t Carry all your Water from the Trailhead
Ensure you have a water filter, so you can filter water out of the creeks and waterfalls along the trail. This will cut down on unnecessary weight. I recommend the Sawyer water filter in this link – it is the same one I use.
7. Obtain a Permit Before Hiking the Kalalau Trail
You must have a permit to hike and backpack on the Kalalau Trail. You can obtain permits in this link here by creating an account with Hawaii state parks. Permits cost about $30 per person per night. There is a ranger who checks for permits at the start of the trail. The name on the permit must match your government issued ID or they will not let you on the trail.
There are plenty of camping sites at Kalalau Beach under the trees in the shade so securing a spot shouldn’t be an issue, especially since they only allow 60 camping permits per day. I recommend that you camp at the end of Kalalau Beach next to the waterfall for easy and fast water supply.
8. Hike Very Carefully on the Kalalau Trail
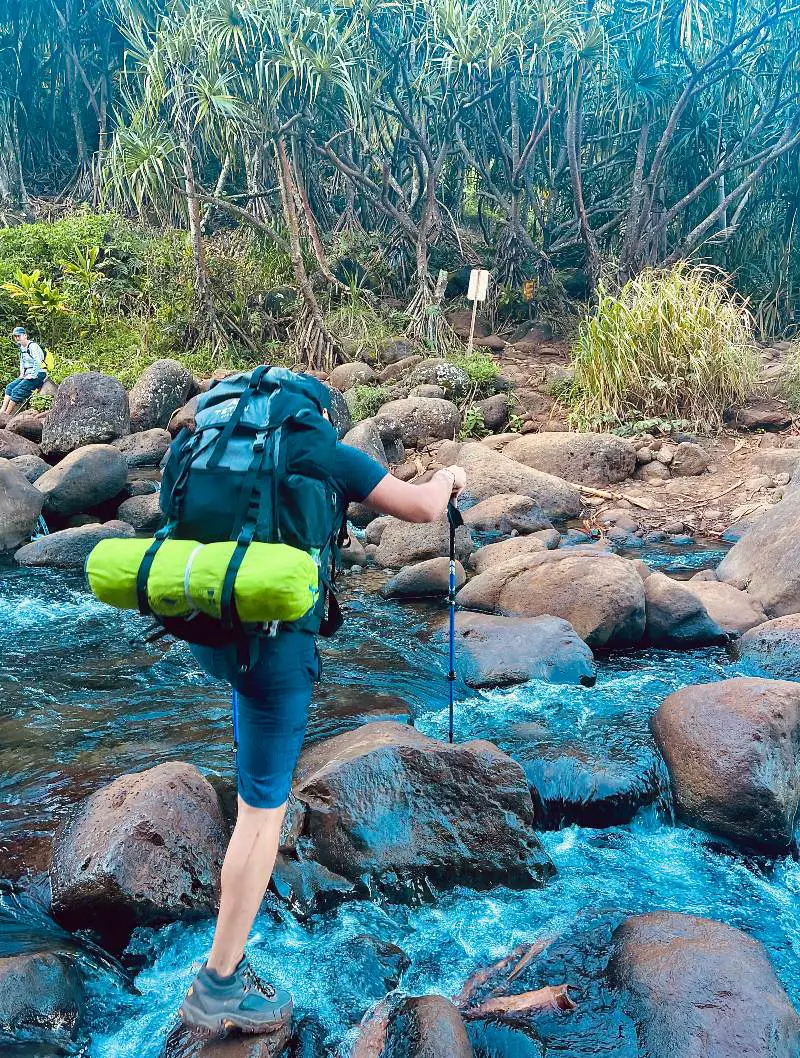
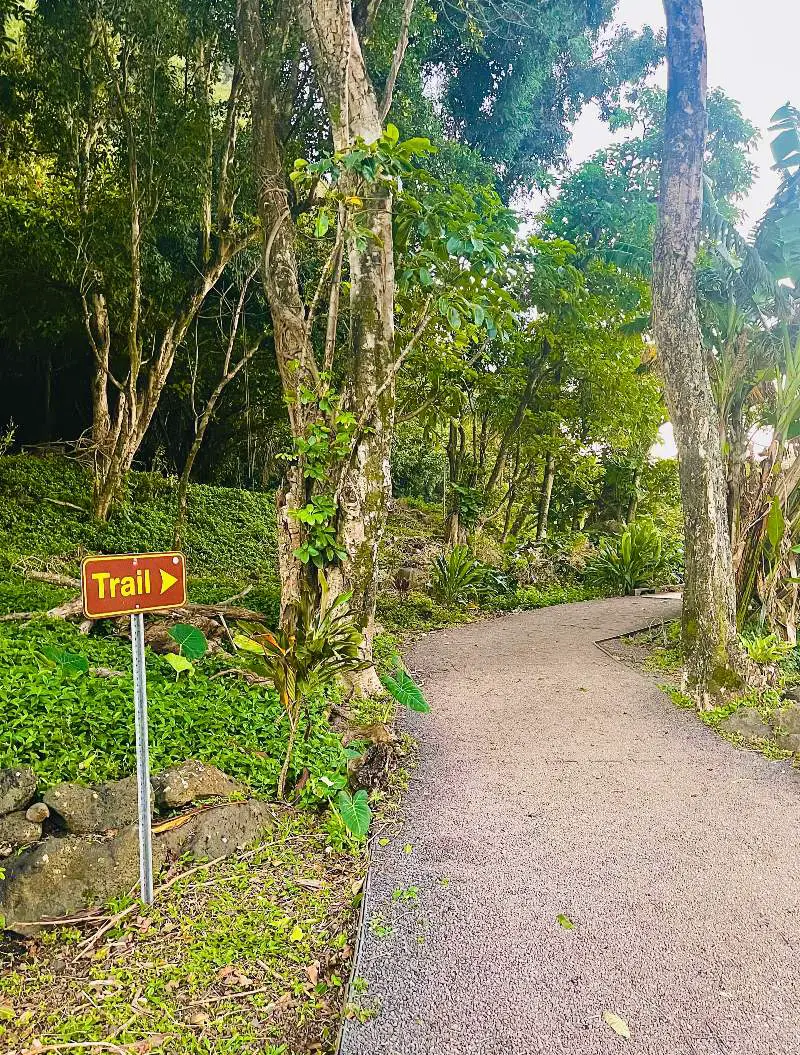
You need to be careful on the trail because it can be muddy during certain times of the season. Make sure you always have good footing and watch your step. Traction is definitely your friend on this trail, which is why I recommended the hiking boots in the link above. You also need to be careful at the stream crossings when water is flowing at its highest point.
Do not try to cross the streams because people have drowned or slipped and broken their ankle. Wait until the water level recedes and attempt crossing the next day (you will encounter this situation when it is raining).
9. Arrange your Transportation Beforehand
Another consideration when hiking this trail is arranging transport. You can rent a car but that will prove to be pricey and an added liability. You will need a parking permit on top of your camping permit and those are even harder to obtain. Instead of renting a car, I recommend arranging a private driver. We used Kevin Schwoebel and his price was very competitive.
You can contact him at (973)769-8854 and tell him that Sertan referred you. He charges around $200-250 depending on the length of your trip and also provides fuel canisters for your trek! He is a friendly and helpful person.
Side note – if you are looking for an economical place to stay before and after you head out on the Kalalau Trail, I would recommend the Kauai Beach House Hostel. This is also where I stayed – it was only $50 per night compared to spending $300+ at some of the higher end hotels in the area. Here you can find more information on the Kauai Beach House Hostel.
10. Bring your Best Camera to Take Endless Photos
Make sure you bring your camera to take pictures but be courteous as you stop for pictures and let other hikers go by. You don’t want to clog up the trail. The photo opportunities on this hiking trail are simply world-class!
11. Follow all the Rules and Secure a Permit
Make sure you follow the rules and secure a permit before heading out. The permit system was put into place in 2018 because people trashed the beaches. The system is in place for a reason and that is to limit the footprint that we leave on this magical place. The fines are heavy if you are stopped on this trail without a permit, so you don’t want to be in that situation.
12. Pick Up After Yourself and Don’t Leave a Trace
Make sure you pick up after yourself and do not leave a trace anywhere along the trail! There are restrooms along the trail at the trailhead, 2-mile mark, 6-mile mark and Kalalau Beach. If you need to use the bathroom on the trail, pick up after yourself and put it in the trash. If you see someone violating the rules, kindly remind them that we must all work together to protect this great land and that it is dependent on all of us to conserve it.
My Favorite Memories on the Kalalau Trail
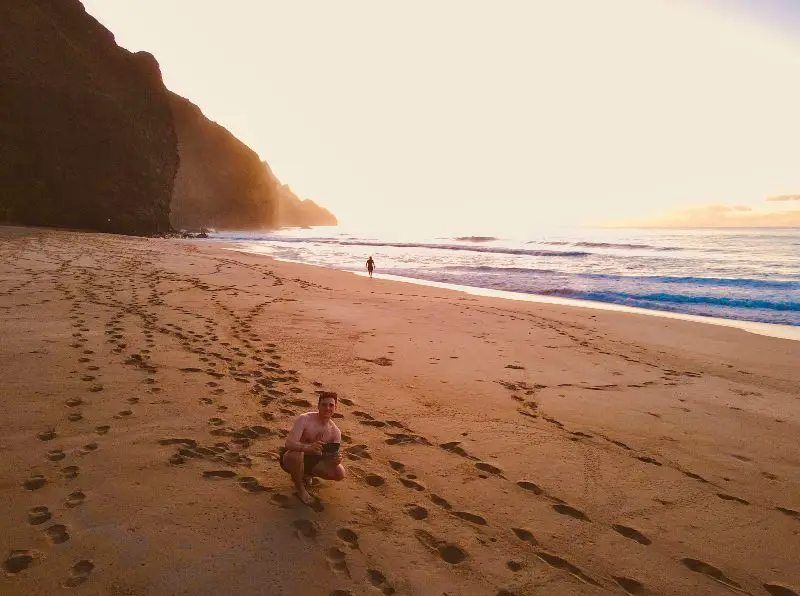
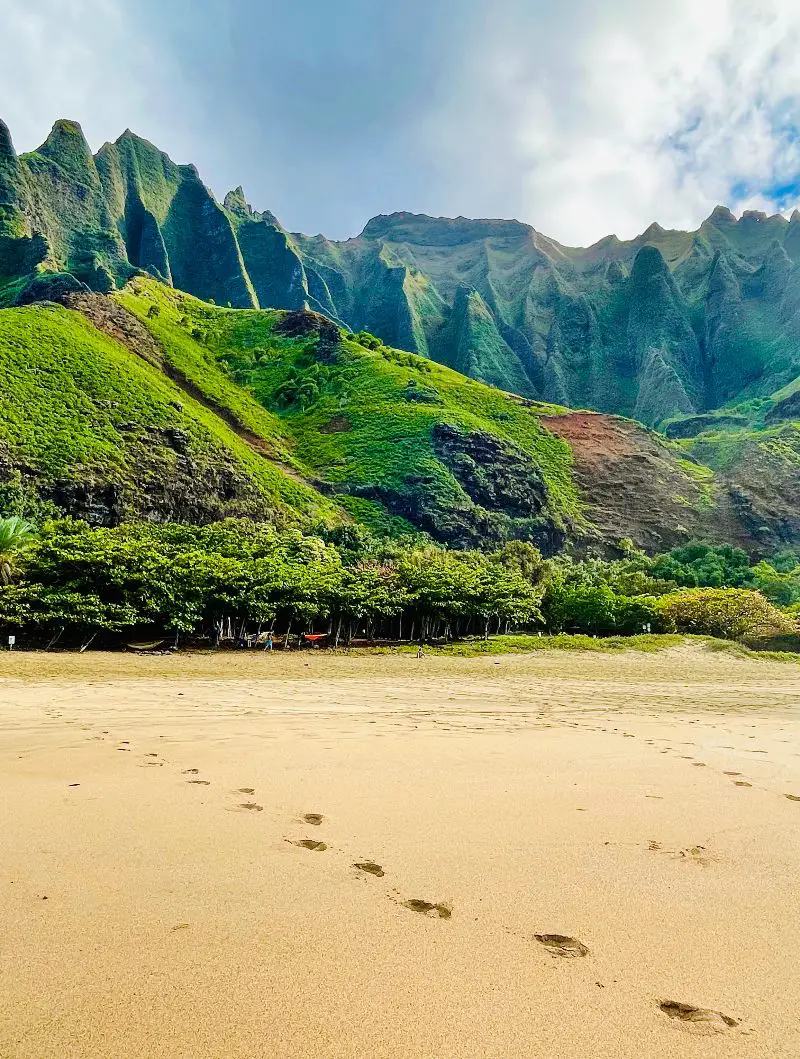
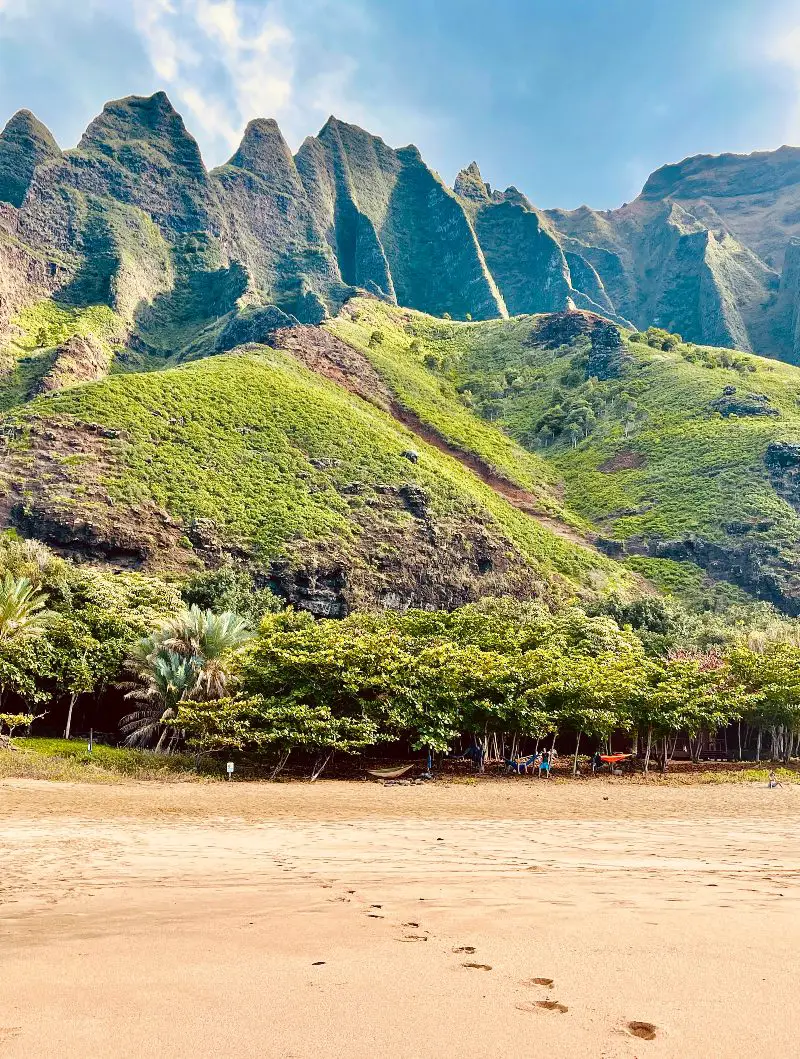
To finish off, I wanted to share my favorite and most memorable experience on the Kalalau Trail and that was our arrival at Kalalau Beach. I have never seen anything like this place in the 27 years of my life. I have a geology background from a few classes I took during my undergrad years and the geological processes involved in carving Kalalau Valley are mind-blowing.
When I got to finally see Kalalau Beach with my own eyes, it was unbelievable – like heaven! You get to camp in the trees tucked underneath this valley and there is a waterfall waiting for you at the end of the valley.
Another memorable part of this trek was looking up at the starry night sky. There is no light pollution in this area so you can see all the stars – even the dusty spiral of the milky way (if you look hard enough). You get to sleep on the beach under the stars, while listening to the waves crashing ashore.
It is also notable that many movie sets were filmed in Kauai like Jurassic Park (2018) and Hobbs and Shaw (2019). I hope everyone enjoyed reading this post! If you have any more questions about the Kalalau Trail, please contact me on my Instagram account @sertanusanmaz and don’t forget to shoot a follow for more dope hiking adventures around the world!
